How long do vape coils last? And how to make them last longer.
Learn more about coil replacement and maintenance.
There are two recurring costs for vapers – the e-liquid and the coil. However, some vapers aren’t always aware of the importance of the vape coil, or the need to replace it once it’s burnt out.
We’ll explain how often you should replace a vape coil, as well as provide you with some background on coils, cover how to change them, and offer a few tips to help prolong the life of your vape coils.
What do vape coils do?
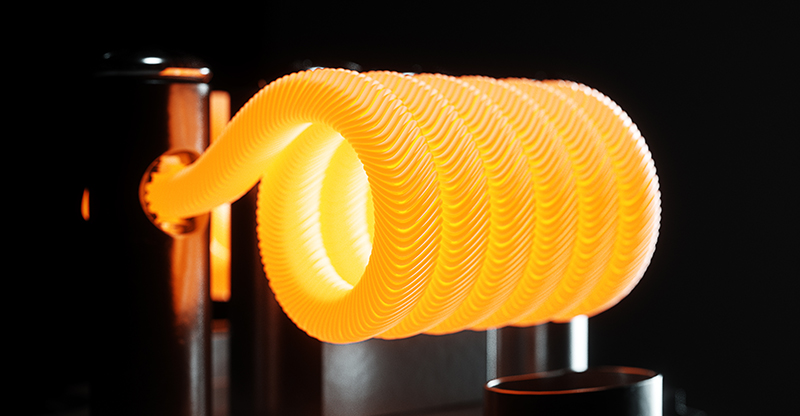
There are different types of coil depending on the vape device you use, but they all perform the same function. The vape coil is what turns the e-liquid into vapour. It does this when it is heated up by the battery in your vaping device.
How do I tell if my vape coil needs changing?
There are a few signs. One of the most obvious is a burnt taste while you vape, or if your e-liquid stops tasting like it should. Other signs your vape coil needs replacing include your vape device leaking, if the vapour production is poor, if you get a gurgling sound when you inhale, or if your device stops working altogether.
So, how long do vape coils last?
That really depends on how often you vape. Basically, the more you vape, the more frequently you need to change the coil. This varies from about once a week for a heavy vaper to every fortnight for a light vaper. Those who only indulge occasionally could go a whole month before putting a new coil in.
Another thing that can affect a coil’s lifespan are flavourings. Heavy ones like coffee, custard and dessert types tend to stick to the coils and wicks more easily, so they gunk up quicker.
However, as with anything, the better the quality the longer it will last. If you use a high-quality vape coil, even a heavy vaper could vape for weeks and weeks without the need to replace the coil.
How do you replace a vape coil?
It’s a fairly straightforward process, and once you’ve done it a few times, it will only take you a couple of minutes tops. Here are a few simple steps to follow:
- Separate the tank from the battery.
- Remove the tank cap.
- Unscrew the old coil from the tank cap and clean the cap to dry it.
- Screw the new coil in.
- Clean the tank, refill with fresh e-liquid and put the tank back together. It’s worth refilling as the old coil might have burnt some of the old e-liquid.
How do you make vape coils last longer?
As we’ve already mentioned, how frequently you vape and the quality of your vape coil will determine how long it lasts. But here are a few tips to save you money by making them last a bit longer:
- Wet the wick. Once you’ve replaced the coil, leave your vape device in an upright position for a few minutes. This allows the wick to soak up some e-liquid. You can also drip some e-liquid into the holes on the coil head to help saturate the wick.
- Wait between hits. Give your coil chance to reabsorb more e-liquid by waiting at least three to five seconds between each hit. Firing too quickly could dry out the coil.
- Don’t run on empty. By always refilling your tank with e-liquid when it drops to a quarter full will minimise the risk of dry firing.
- Keep it clean. First, blow away any excess juice on the vape coil. Then rinse it under hot water. Leave it to dry fully, then replace it. Press the firing button until it’s fully heated up. Allow the coil to cool for four to five seconds, then heat it up again. Now you’re ready to re-build your vape and introduce e-liquid again.
Hopefully this has given you a better insight into vape coils, their importance, how often to change them and how to help prolong their life. Happy vaping.


